NX’s™ continuous release cycle means that there are always new ways to improve your designs and your workflows. Automatic Draft Calculation in NX’s Molded Part Design add-on module is just one of the many enhancements you can find in the December 2023 release.
Automatic Draft Calculation is an AI-enabled tool that helps you quickly make the right design decisions to create better products with fewer iterations. It analyses your design based on a wide range of variables and recommends a suitable draft angle when using the Draft command on a particular face.
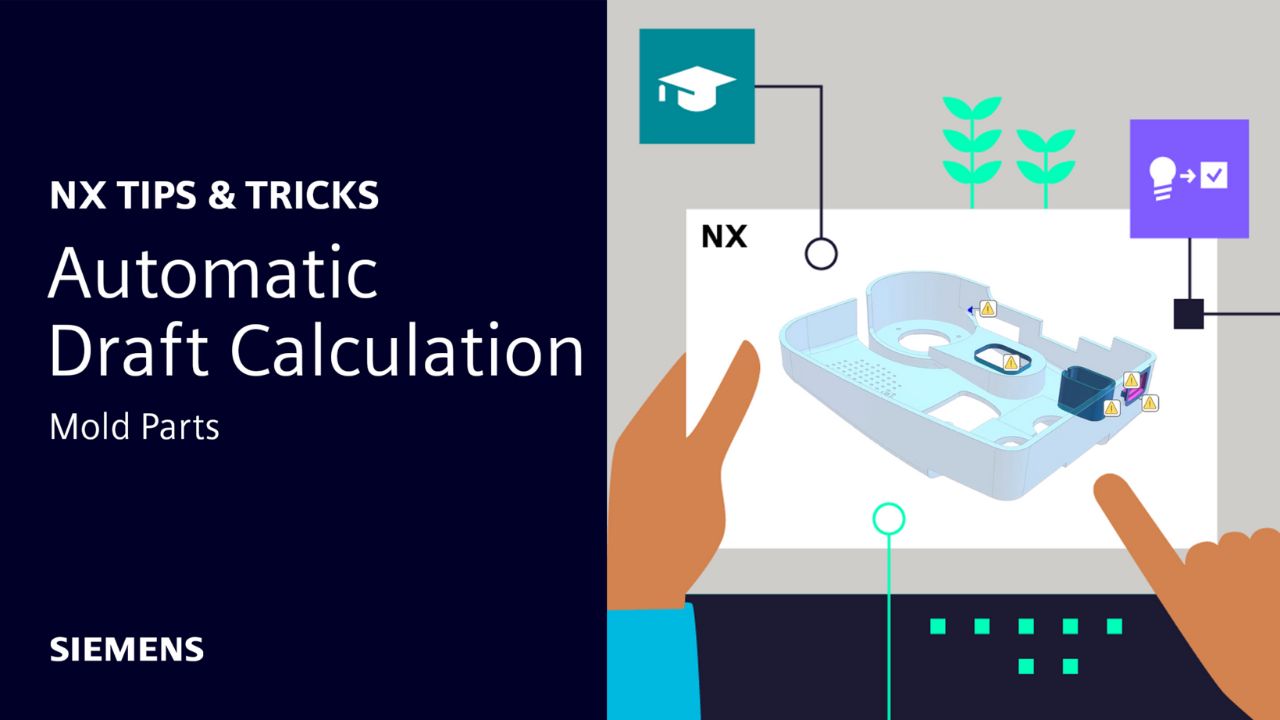
Read on or watch the video to learn more about how it works.
Step 1 – Moldability Validation
Before adding draft, we want to check the overall moldability of the part. Molded Part Design’s Moldability Validation report will quickly highlight any areas of the design that need draft.
First, use the Draw Direction command to check that the draw is correct and specify the draw direction if not.

Now you’re ready to run Moldability Validation to automatically check for a number of potential design issues, such as:
- Thin walls
- Thick walls
- Vertical walls
- Undercut regions
All these are highlighted in an intuitive, color-coded visual report in the Graphics Window, with extra details available in the Molded Part Design Navigation.

 Step 2 – Draft & Recommended Draft Angle Report
Moldability Validation has highlighted some vertical walls on our design. We need to add draft to these faces to ensure that the component is moldable.
But what draft angle should you choose?
A larger draft angle can make parts easier to remove from a mold, while smaller draft angles can result in smoother surface finishes. The optimum draft angle is a balance of these two factors.
Molded Part Design’s Draft command now includes a Recommend Draft Angle option which can answer this question for you.
Once you’ve selected the face on which to add draft, the AI-enabled Recommended Draft Angle Report analyses the design to suggest a draft angle. It balances the two criteria above, while computing variables such as:
- Design thickness
- Draw direction
- Assigned material
- Geometric conditions (such as maximum depth of the face along the draw direction)
Make sure you check the recommended draft angle each time you add draft to a new face – the specific geometric conditions of each face may mean different results.
If you run the report without a material assigned, it’ll show you the minimum draft angle for a range of material options. If you have a material assigned, you’ll only see the material relevant to you.

Step 3 – Revalidate
Once you’ve added draft to the part using the Recommended Draft Angle Report’s suggested angles, you can run Moldability Validation again to check that it’s resolved the issues flagged earlier.
In our case, adding draft to certain faces has dealt with the vertical walls highlighted when we first ran the report.

You’re now ready to address any other moldability issues such as unsuitable wall thickness or undercut areas.
By Michael Hobson